What profession did you want to be when you were a child? I spent years and years telling everyone I was going to be a marine biologist. I loved dolphins. I drew dolphins, I painted dolphins, I made a ceramic dolphin. I was obsessed.
Eventually, I was told that not all marine biologists got to work with dolphins. Or even fish. Lots of them work with testing water or other pretty mundane (to a 14 year old in love with dolphins) things. So, my ambitions changed and I eventually fell into being a speech therapist which is absolutely my dream job. But I was still super excited when we got to see dolphins in the Banana River in Cocoa Beach, Florida. Seriously, it was the coolest thing – just look at these photos from that trip!


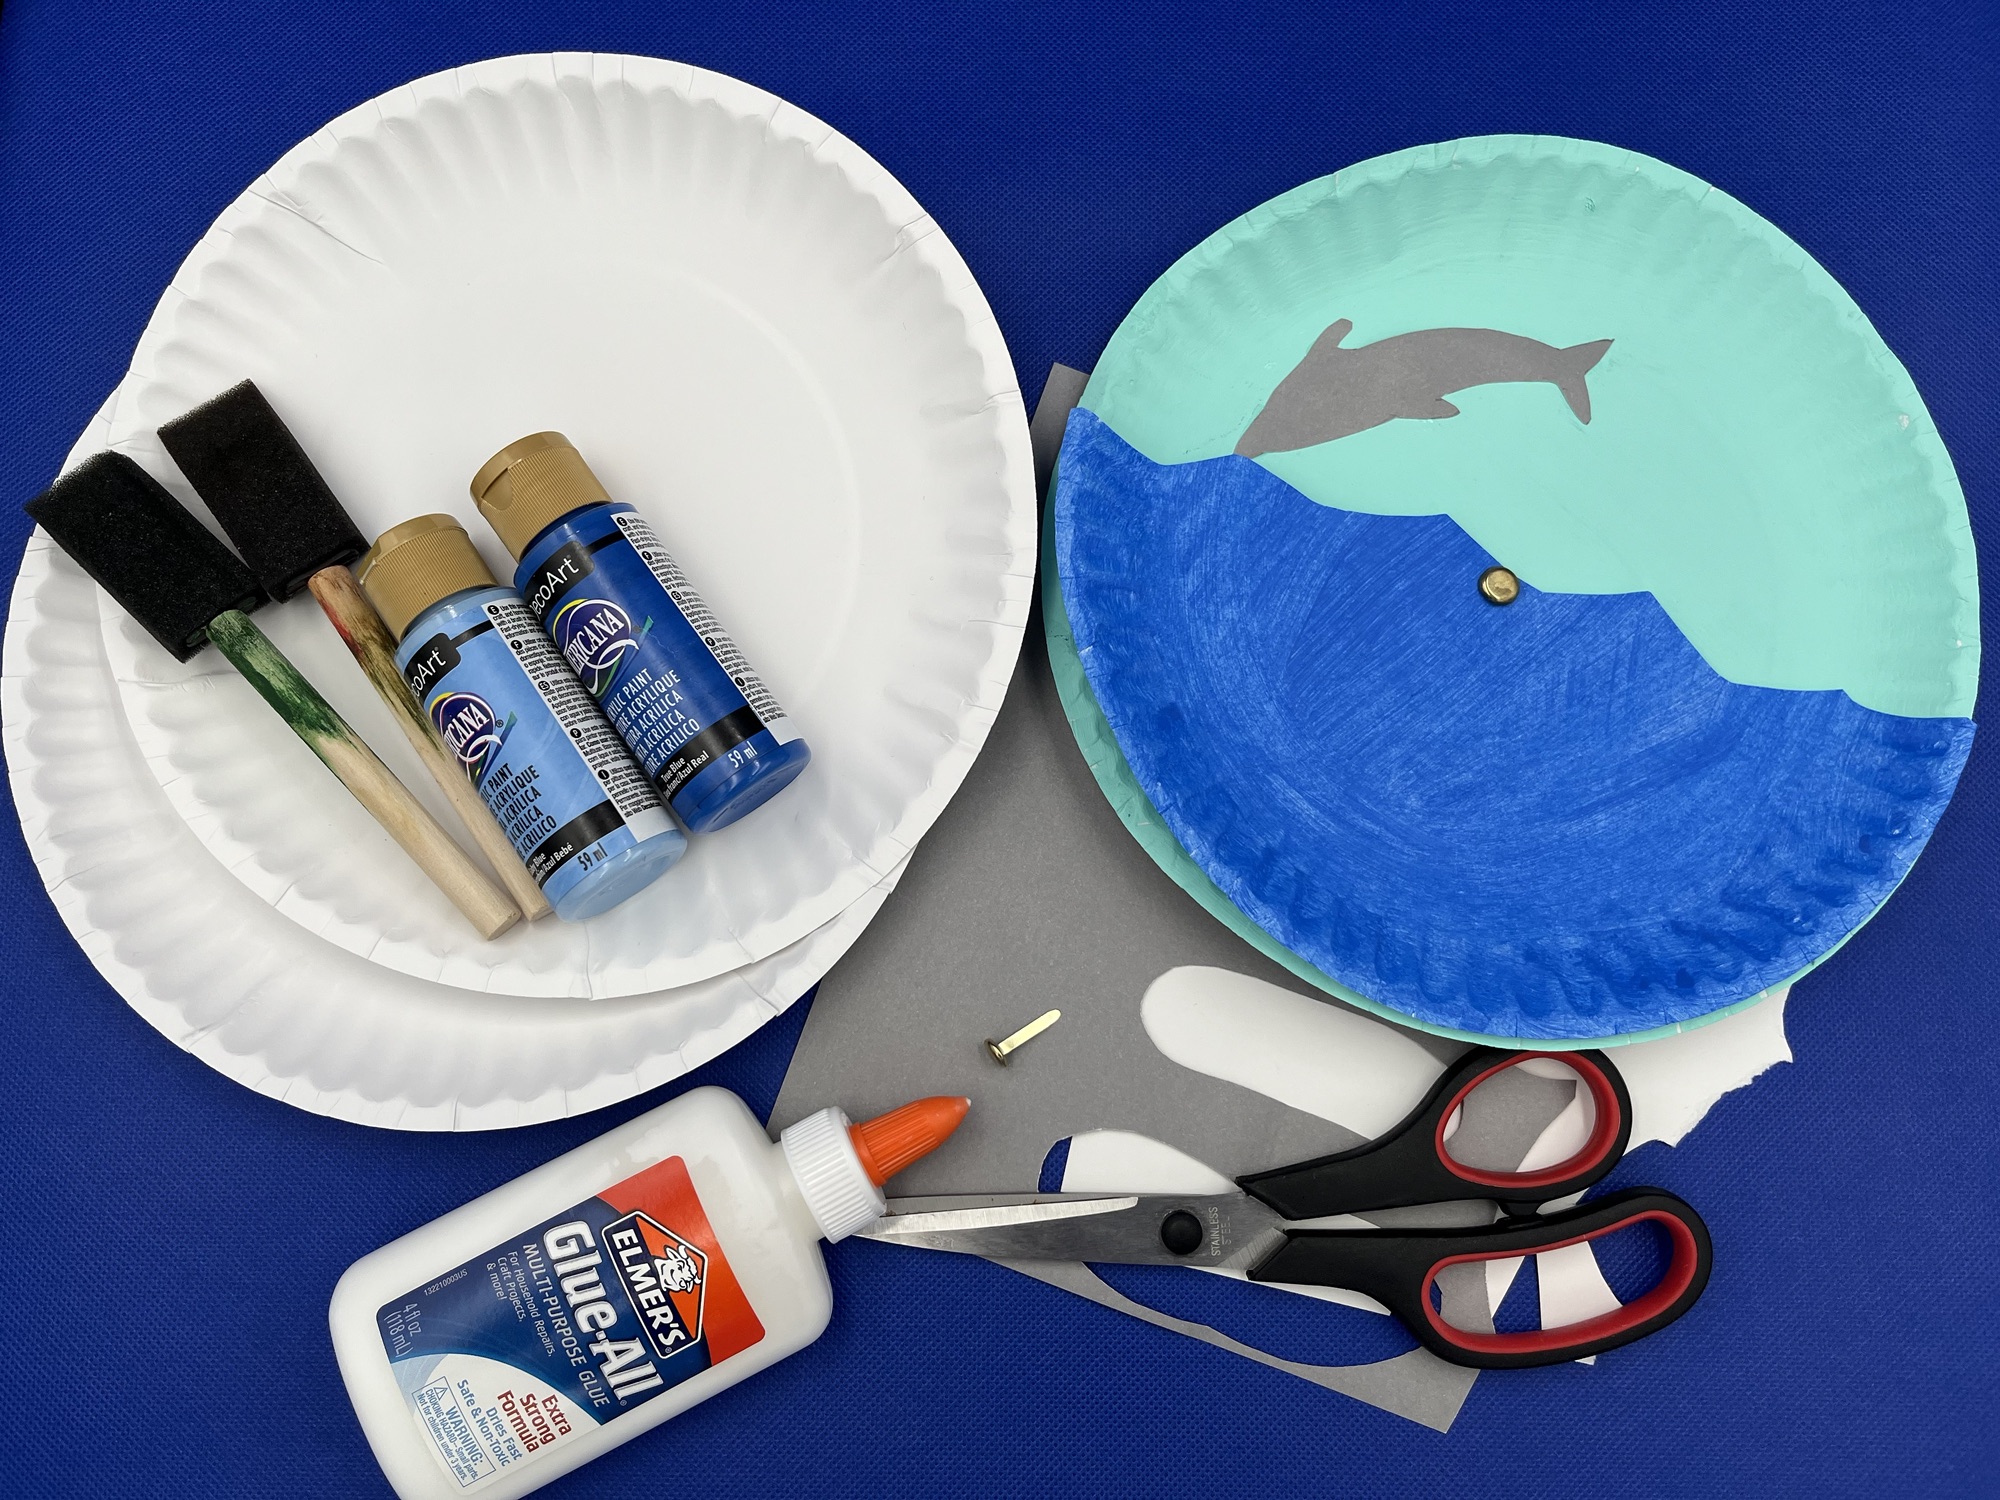
So, this week I am super excited to share this Paper Plate Diving Dolphin craft with you. You need just a few supplies and you can make this super fun craft that actually has motion in it. You could, of course, make this with any type of swimming being, but why wouldn’t you make a dolphin?

I also, of course, have a Diving Dolphin game that I will share at the end of this post. As always, it is half off for you through July 5th. (Can we talk about how July 5th should be much further than 4 weeks away? What?!?)
Supply List
- 2 paper plates
- White and grey paper
- 2 shades of blue paint
- Paint brushes, cup, apron, and table covering
- Paper fastener/metal brad
- Pencil (optional)
- Glue
- Scissors

Step-by-Step Directions
The first thing you will want to do for this craft is fold one of the plates in half to find the center. This is important because you are going to cut a wavy pattern about half an inch above the center. You need it to be above the center because otherwise you will have trouble placing the paper fastener later.


Next you need to find the center of the both plates. I do this by folding it in half to make a crease in the center and then turning it 90 degrees and folding in half again to make another middle crease. I have marked the center of each plate with sharpie in the photo below. This is where you want to make a small hole in each plate with your scissors.


Now it is time to paint the plates. I painted the full plate the lighter blue to look like the sky and the wavy plate the darker blue to look like the water. You can use your artistic judgement here – whatever colors you would like. You could even go for a sunset look with the center of the full plate being the brightest and the outside being the darkest. It is up to you!


While your plates dry, you can cut out your pieces. I freehand cut the cloud shape out of the white paper. You could honestly do a few clouds, but I prefer just one. I like less things for the smaller plate to get stuck on in the end.


We are now at the part I find the trickiest. You need to cut a dolphin out of the grey paper. I find it easiest to draw it in pencil first. You could always find a dolphin outline to trace and cut out – I am not that into things being perfect, so I freehand drew it. (I did practice this a lot in middle school, though.)


Once you have all your pieces cut and your plates are dry, it is time for assembly. Push your paper fastener through both plates and open the prongs in the back to hold the plates together but also allow them to turn.


You can choose to attach the dolphin or the cloud next. I did the cloud first and then the dolphin, but there is no wrong answer here. Except for maybe stopping before you attach things. The important thing to remember is you want to attach one, turn it so that the attached piece is a the bottom of the full plate behind the water, and then attach the other. Unless you like the cloud and the dolphin together and want the rest to be empty space. Or you made more clouds and dolphins. It’s your project, make it what you want!


Anyway, now your craft is complete and you can spend as long as you would like spinning the plates to make your dolphin dive into the waves.

As I say every week, my goal with this blog is to make sure that people leave each of my posts feeling equipped to practice articulation or phonics with their learner. So, I always have a game from my Teachers Pay Teachers store (Autumn Emigh Creative Communication Solutions) on special sale for you. This week, it is a game called “Dolphin Dive.” The product includes instructions with a link to a digital Google Slides game. You also receive printable game cards in color and black and white. The digital and printable versions of the game contain the same 12 /D/ sound words for your learner to practice. Get it until July 5th for half price – just $1.00!

Just click on the photo above or HERE to get your copy today! And be sure to fill out the form below to get on my email list. Not only are my email subscribers the first to know when each of my blog posts goes live, they also get information about products, events, and summits each week. I’ll always do my best to make it worthwhile for you to stick around, but it is super easy to unsubscribe if you ever wish to.
That’s it for this week. I hope you have a great time playing with your dolphin craft this week – I would love to hear how it goes in the comments. I will be back next week with a Father’s Day Grill Card craft and a Guess Which Father game.
This post contains affiliate links. You will not be charged more, but I may make a percentage if you make a purchase.


Leave a Reply